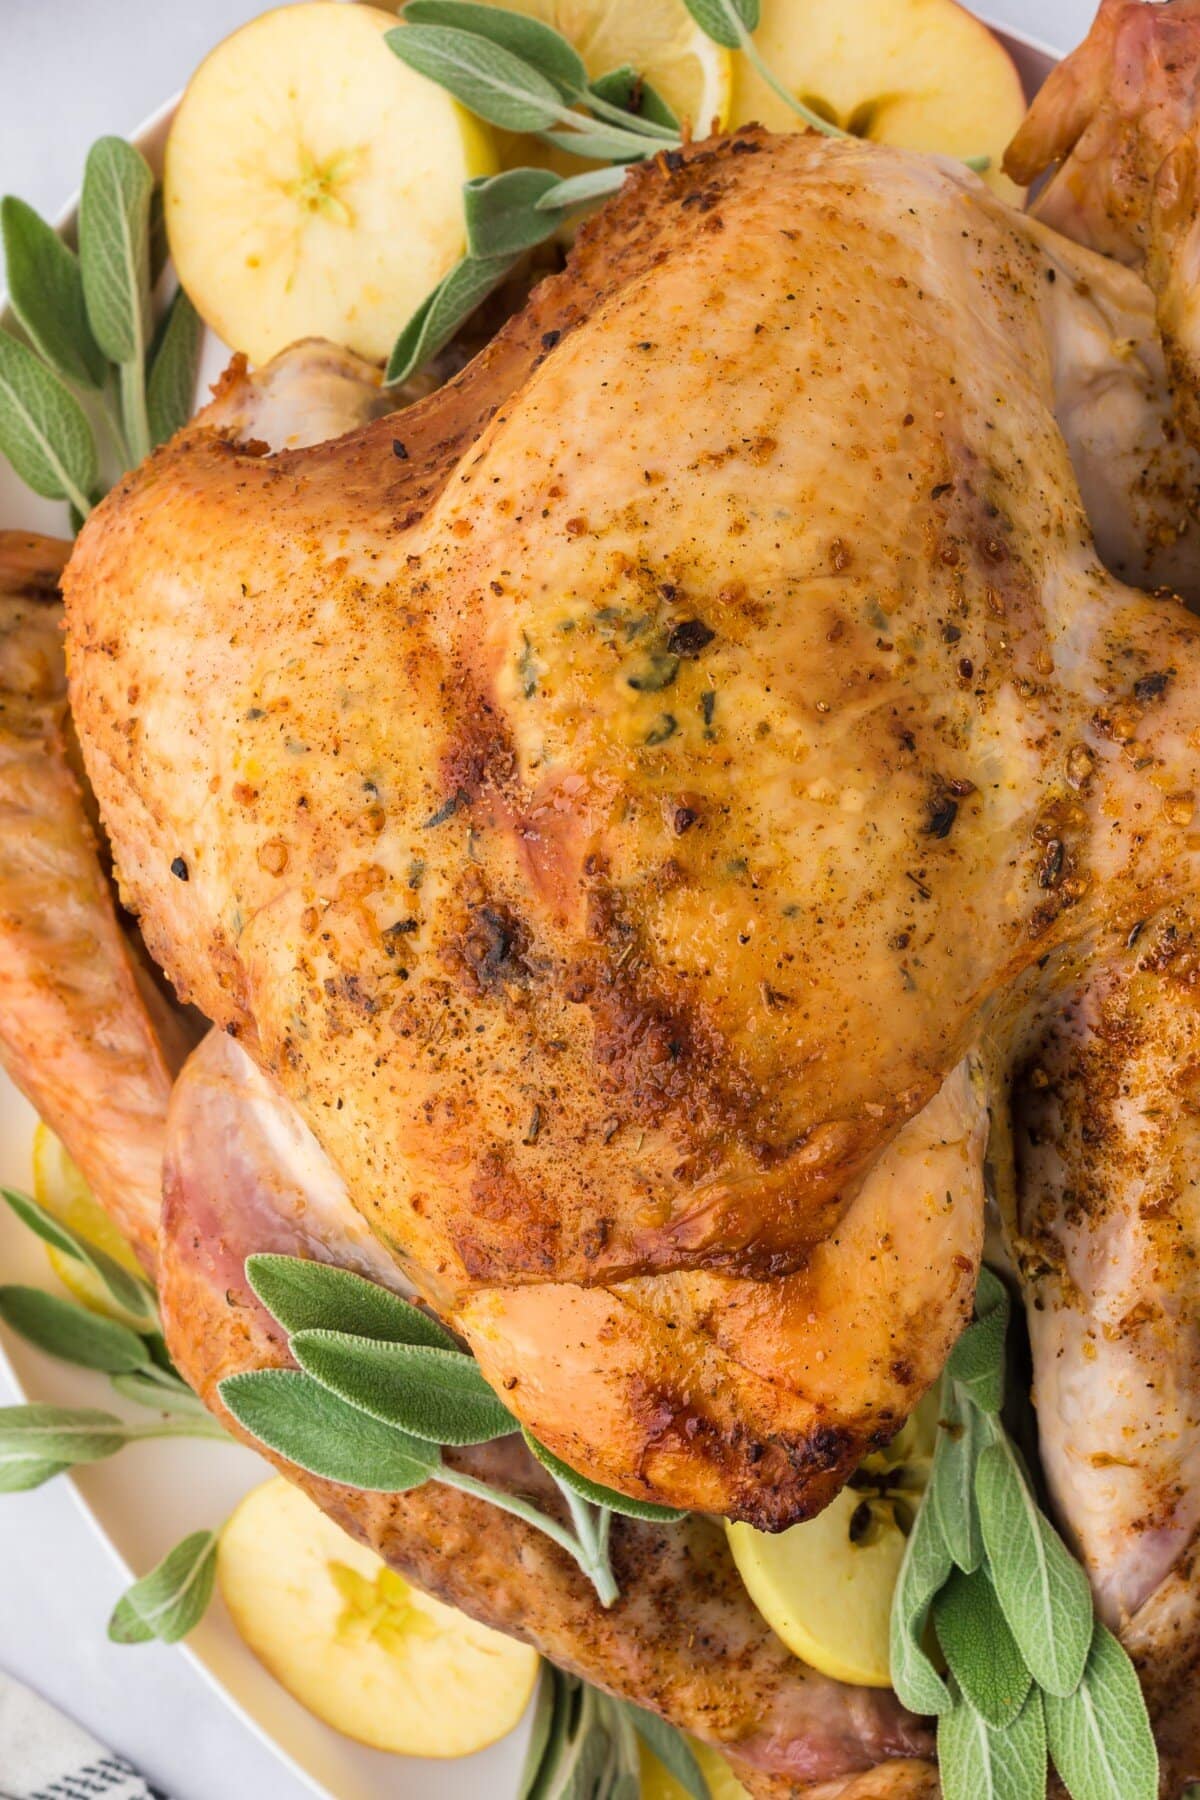
Dry Brine Turkey
If you’re looking for an easy cooking method for your Thanksgiving meal, you have found it. This sumac Dry Brined Turkey uses the convenience of a dry rub that absorbs into the meat and is flavored from absorbing into the turkey. The combination of savory fall herbs and bright citrus notes will leave you feeling light and satisfied.
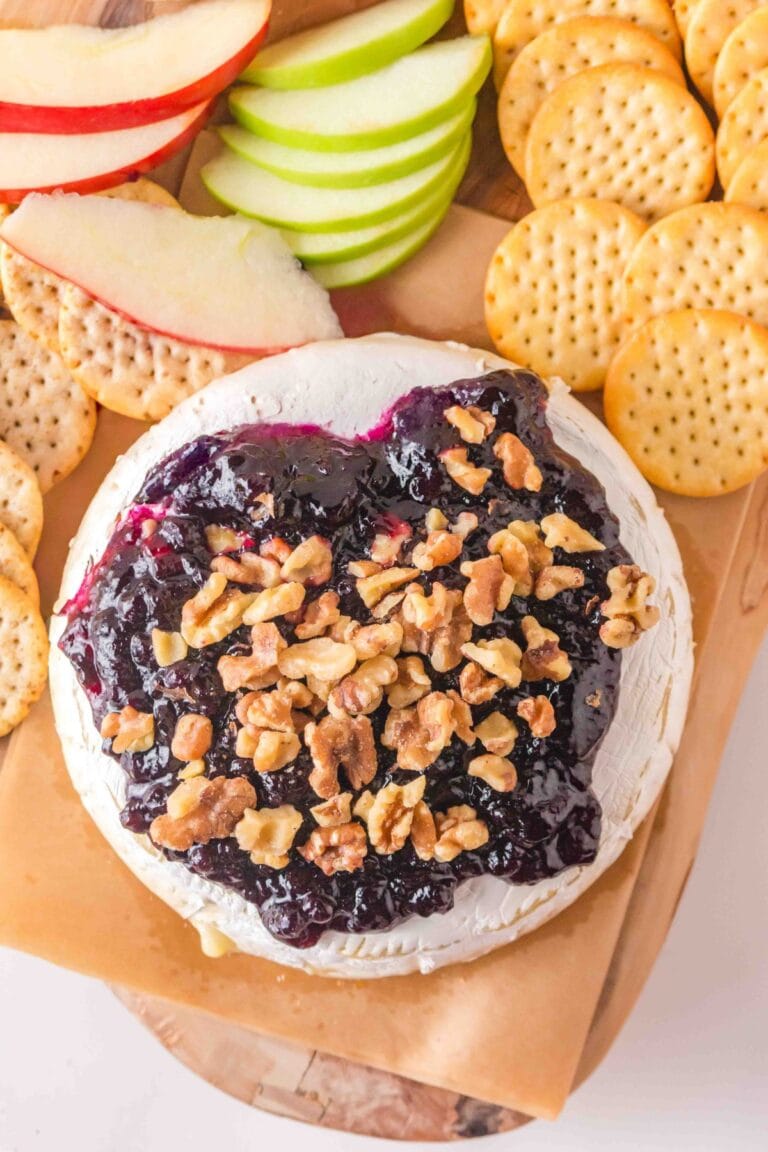
Looking for the perfect side dish for your turkey dinner? This great recipe for Crispy Brussels Sprouts is not only super tasty, but it is packed with fresh sprouts, walnuts and pomegranate arils, all in a honey balsamic glaze. Also try our amazing Stuffing Balls, so crispy and delicious.
What does this Sumac Turkey taste like?
This sumac dry-brined turkey is juicy and succulent. Sumac is lemony and tart with a fruity flavor that is slightly sweet. The dry brine soaks into the meat of the turkey while the cavity is filled to flavor the turkey from within. After cooking, the turkey gets drizzled with a light but rich gravy that doesn’t weigh you down, but adds even more savory flavor for the perfect bite.
Why I Love This Recipe
- Fantastic way to cook a turkey
- Tender and juicy
- Dry brine adds big flavor
- Easier than wet brining
- Love the flavor of citrusy sumac
Helpful Items for This Recipe
This post contains affiliate links. As an Amazon Associate, I earn a small portion from qualifying purchases at no extra charge to you.
All-Clad Specialty Stainless Steel Roaster and Nonstick Rack 16 x 13 x 5 Inch

Ingredients for Dry Brine Turkey

This dry brine turkey recipe has most of the ingredients that you normally find in a turkey recipe, and a few that you may not normally find in the ingredients list.
Recipe Ingredients
Dry Brine
Salt – I like to use kosher salt in the dry brine.
Sumac – You can use more or less depending on your taste preferences. Sumac is commonly used in Mediterranean and Middle Eastern cooking and tastes bright and citrusy without being overpowering.
Rubbed sage – You can find this dried herb in the seasoning section of your local supermarket. It adds the perfect flavor for the holidays.
Italian seasoning – This blend of Italian herbs is perfect for the Mediterranean taste of this recipe.
Black pepper – Fresh ground pepper is always the best choice.
Turkey
Whole turkey – If the turkey is frozen, make sure to thaw it completely before you start working with it. The safest way to thaw your turkey will be in the refrigerator. Keep your turkey in the fridge for a 24-hour period for every 4-5 pounds. You can also thaw your turkey in cold water for 30 minutes per pound of turkey. See this post for recommendations.
Butter – Margarine also works, but butter adds flavor you can’t get from margarine.
Fresh thyme leaves – You can also substitute fresh thyme with 1 teaspoon of dry thyme.
Lemon zest – Make sure to zest your lemons before you cut them.
Fresh sage leaves – The whole leaves are easier to work with than dry sage.
Lemons – The lemon flavor bumps up the flavor of the turkey!
Apple – You can use any type of apple you want. I used a Gala apple because they were on sale.
Sweet onion – You could also use a yellow or white onion if you already have them on hand.
Celery – Helps to add moisture and flavor to the turkey.
Roasted minced garlic – This is the garlic from the jar. It has less sharpness than fresh garlic and doesn’t burn as easily.
Chicken broth – Vegetable or turkey broth works great too.
Gravy
All-purpose flour – To help thicken the gravy.
Apple cider vinegar – Adds a touch of acid to the gravy to cut the richness and helps enhance the depth of flavor.
Drippings from the cooked turkey – A necessary ingredient in every good turkey gravy!
Turkey Broth – I always simmer the neck and giblets with carrot, celery, and onion to make a delicious broth to use in the turkey gravy. You can substitute with chicken stock.
The short answer is yes. Give the turkey a nice massage all over with the dry brine and place it in a roasting pan with a rack. Loosely cover it with foil or plastic wrap and refrigerate it for 2 days. The time allows the dry brine to work its magic on the turkey.
How to Make This Dry Brine Turkey


Start this process 2 days before you plan to cook your turkey. In a small bowl, stir together the salt, sumac, rubbed sage, and Italian seasoning until fully combined.
Rub the mixture over the inside and outside of the turkey until it is completely coated and all the seasoning is used. Make sure you get under the skin of the breast and legs, but be gentle here, as the skin can tear easily in these tender places.
Place the turkey on a large, lipped baking pan lined with a cooling rack or in a roasting pan fitted with a rack. Lightly cover the turkey with foil or plastic wrap and refrigerate for 2 days.
1-2 hours before you’re going to cook the turkey, pull it out of the refrigerator to bring it closer to room temperature.


Remove all but the bottom rack in your oven and preheat to 375°F.
In a small bowl, mix the softened butter with the fresh thyme leaves, 1 tsp garlic, and lemon zest. Place your turkey, breast-side up, in your roasting pan, and stuff the cavity with apples, onions, celery, roasted minced garlic, sage, and lemon wheels. Do not overstuff, though, as this will cause the turkey to require a longer cook time.
Divide the butter in half and place half under the skin of the breast, spreading it as smoothly as possible. Smear the other half of the butter on the outside of the skin, covering the entire bird. Be sure to get the legs and wings too, since those are often overlooked.
Tuck the wing tips behind the body of the bird and, if the bird’s legs are not already tied, use butcher’s twine to secure the legs together at the ends. This helps to prevent them from burning while the rest of the bird cooks.
Pour the chicken broth into the bottom of your roasting pan. The broth keeps the turkey tender and juicy. But don’t add too much, as then you will be steaming the turkey.

Cooking Your Dry Brined Turkey
Bake your turkey breast side up, uncovered, for 13 – 15 minutes per pound. You can take a peek at how the turkey is browning by using the oven light and peering through the oven window, but try to keep the door closed as much as possible. Opening the oven will lower its temperature, resulting in a dry turkey.
Keep an eye on the liquid at the bottom of the pan. If it starts to dry up, add another cup or two of chicken stock while the turkey is cooking.
If you notice the turkey getting too brown, tent it with foil. You’ll know when your turkey is done when the internal temperature of the thickest part of the thigh is 160°F. At this point, you can remove the turkey from the oven, and it will reach 165°F while it rests.

Remove the turkey from the roasting pan and let it rest for 30 – 45 minutes before slicing and serving. It’s important to let the turkey rest so that it can carryover cook to the correct temperature and to allow the juices to reabsorb into the meat. Resting keeps the moisture in the meat of the turkey.
Making the Turkey Gravy


While the turkey is resting, strain the drippings and juices from the roasting pan into a small bowl, and pull all of the herbs and fruit out of the cavity of the bird. They’ve given all of their flavor, so you can toss them in the trash.
If your bird didn’t create enough liquid to make drippings, use a spatula to scrape the bottom of the roasting pan and mix it with a bit of broth; then continue with this step. You will need about 2 cups of pan drippings and broth for the gravy.
Meanwhile, in a medium saucepan over medium heat. Add the butter for the gravy until it’s completely melted.
Slowly whisk in the flour until it looks like a paste and all the flour is hydrated. Let it cook on low, stirring occasionally, for about 1-2 minutes to cook off the raw taste of the flour. Whisk in the apple cider vinegar along with the salt and pepper.

While whisking continuously, slowly stream in the strained drippings into the flour mixture. Going slowly will help you avoid clumps that make a lumpy gravy. Let the gravy simmer for 5-7 minutes, stirring occasionally until it coats the back of a spoon.
If your gravy is too thick, then loosen it up with more turkey or chicken broth.

Carving and Serving
Carve the turkey and serve it warm, accompanied by the gravy, mashed potatoes, and your choice of vegetables.
Enjoy!
Little Chef’s Secrets

FAQ’s
- Plan ahead; if your turkey is frozen, it will take 24 hours for every 5 pounds to thaw in the refrigerator.
- You need two days to dry-brine your turkey after it is thawed.
- If your gravy is too thick, you can whisk in some more turkey or chicken broth. If it is too thin, you can add a little more flour mixed with butter at a 1:1 ratio and allow it to simmer for a few minutes to cook the flour.
- You will need approximately 1 1/2 pounds of turkey per person. For example, if you are feeding 10 people, you will need a 15-pound turkey.
- Make sure you rest your turkey for at least 30 minutes. This allows the juices to redistribute and ensures your turkey is tender and moist. It also lets the turkey come up to 165°F.

Pin it HERE!!

Pin it HERE!!

Dry Brine Turkey
Ingredients
Equipment
Method
- Start this process 2 days before you plan to cook your turkey. In a small bowl, stir together the salt, sumac, rubbed sage, and Italian seasoning until fully combined.
- Rub the mixture over the inside and outside of the turkey until it is completely coated and all the seasoning is used. Make sure you get under the skin of the breast and legs, but be gentle here, as the skin can tear easily in these tender places.
- Place the turkey on a large, lipped baking pan lined with a cooling rack or in a roasting pan fitted with a rack. Lightly cover the turkey with foil or plastic wrap and refrigerate for 2 days.
- 1-2 hours before you’re going to cook the turkey, pull it out of the refrigerator to bring it closer to room temperature.
- Remove all but the bottom rack in your oven and preheat to 375°F.
- In a small bowl, mix the softened butter with the fresh thyme leaves, 1 tsp garlic, and lemon zest. You can easily remove the leaves from the woody stem by pinching the top of the stem and gently pulling towards the bottom.
- Place your turkey, breast-side up, in your roasting pan, and stuff the cavity with apples, onions, celery, roasted minced garlic, sage, and lemon wheels. Do not overstuff your turkey, as that will cause it to need to cook longer.
- Divide the butter in half and place half under the skin of the breast, spreading it as smoothly as possible. Smear the other half of the butter on the outside of the skin, covering the entire bird. Be sure to get the legs and wings too, since those are often overlooked.
- Tuck the wing tips behind the body of the bird and, if the bird's legs are not already tied, use butcher’s twine to secure the legs together at the ends. This helps to prevent them from burning while the rest of the bird cooks.
- Pour the chicken broth into the bottom of your roasting pan. The broth keeps the turkey tender and juicy. Make sure you keep an eye on this and add more broth as needed while the turkey is cooking. Don't overfill the stock as that will steam the turkey.
- Bake your turkey breast side up, uncovered, for about 15 minutes per pound. You can take a peek at how the turkey is browning by using the oven light and peering through the oven window, but try to keep the door closed as much as possible. Opening the oven will lower its temperature, resulting in a dry turkey. If you notice the turkey getting too brown, tent it with foil. You’ll know when your turkey is done when the internal temperature of the thickest part of the thigh is 160°F. At this point, you can remove the turkey from the oven, and it will reach 165°F while it rests.
- Remove the turkey from the roasting pan and let it rest for 30 minutes before slicing and serving. It’s important to let the turkey rest so that it can carryover cook to the correct temperature and to allow the juices to reabsorb into the meat. Resting keeps the moisture in the meat of the turkey, and the temperature will come up to 165F.
- Strain the drippings: While the turkey is resting, strain the drippings and juices from the roasting pan into a small bowl; you will need about 2 cups. You can use turkey or chicken broth if you don't have enough pan drippings. Remove the herbs and fruit out of the cavity of the bird. They’ve given all of their flavor, so you can toss them in the trash. If your bird didn’t create enough liquid to make drippings, use a spatula to scrape the bottom of the roasting pan and mix it with a bit of broth; then continue with this step.
- Meanwhile, in a medium saucepan over medium heat, add the butter for the gravy until it’s completely melted.
- Slowly whisk in the flour until it looks like a paste and all the flour is hydrated. Let it cook on low, stirring occasionally, for about 1-2 minutes to cook off the raw taste of the flour.
- Whisk in the apple cider vinegar along with the Kosher salt and pepper to taste.
- While whisking continuously, slowly stream in the strained drippings into the flour mixture. Going slowly will help you avoid clumps that make a lumpy gravy. Let the gravy simmer for 5-7 minutes until it coats the back of a spoon. IF you want the gravy a little thinner, add more stock. If you want the gravy to be thicker, you can always gradually add more flour mixed with butter at a 1:1 ratio, a tablespoon at a time, until you get the consistency that you like.
- Carve the turkey and serve it warm with the gravy.